Creating an App
In this section you will learn how to add a new app into the Enplug system. To learn about developing a new app, see Implementing your app section.
Adding a new app#
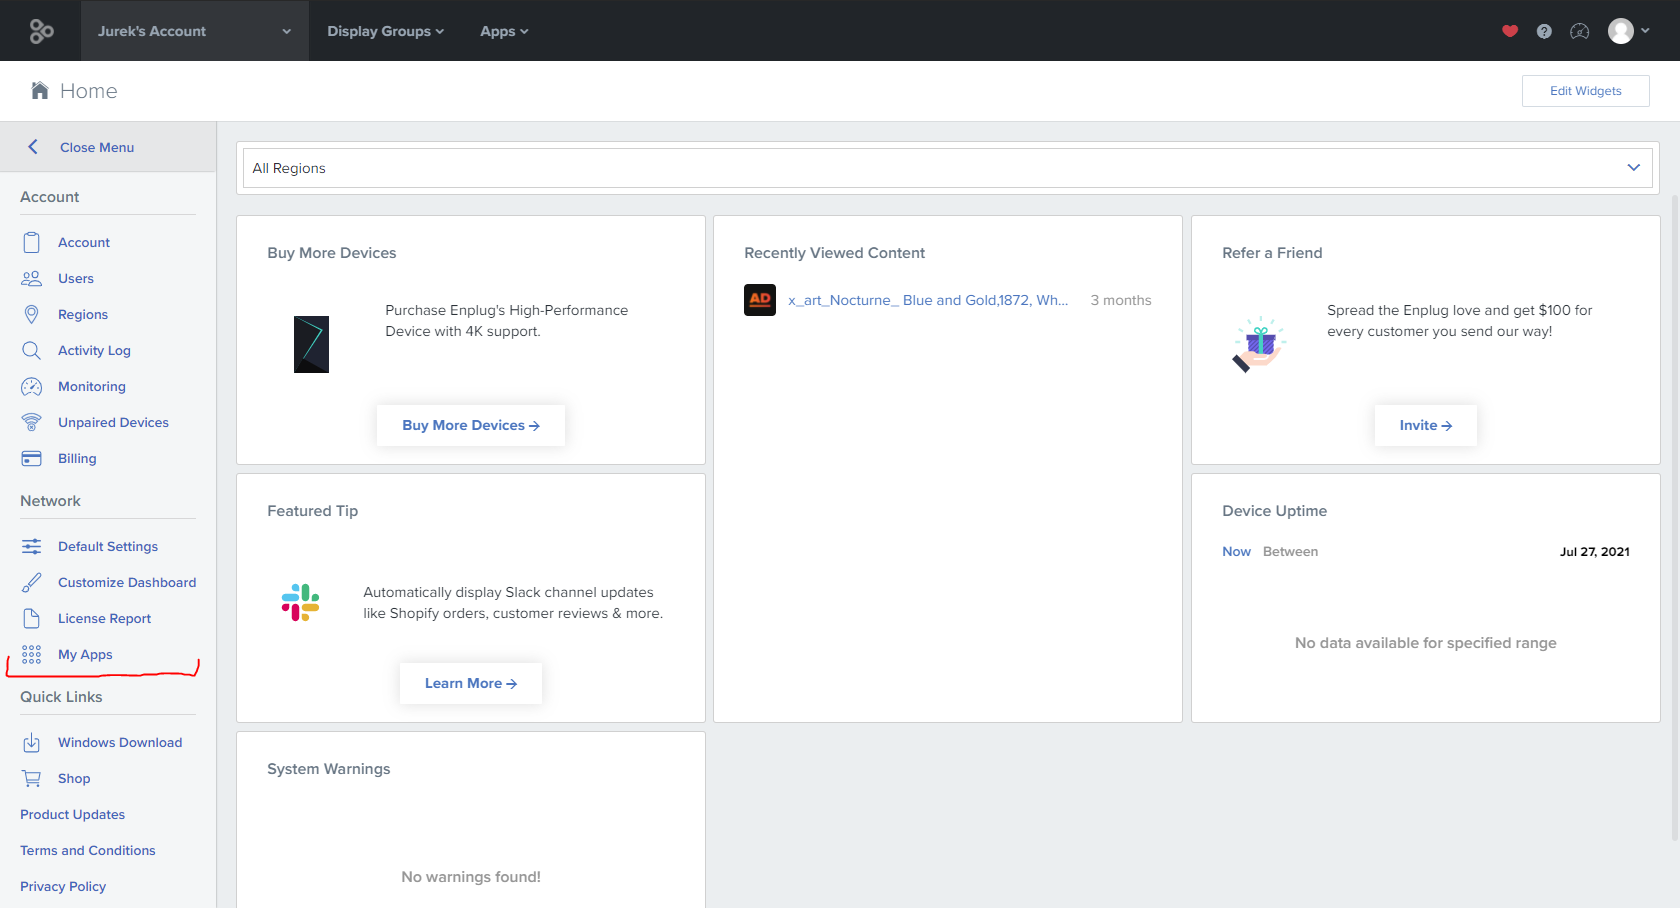
To add a new app into the Enplug system so it appears in the 'Apps' dropdown, you need to set it up in the dashboard. In the Home view, navigate to 'My Apps' in the sidebar.
note
You might need special permissions to have the access to this feature.
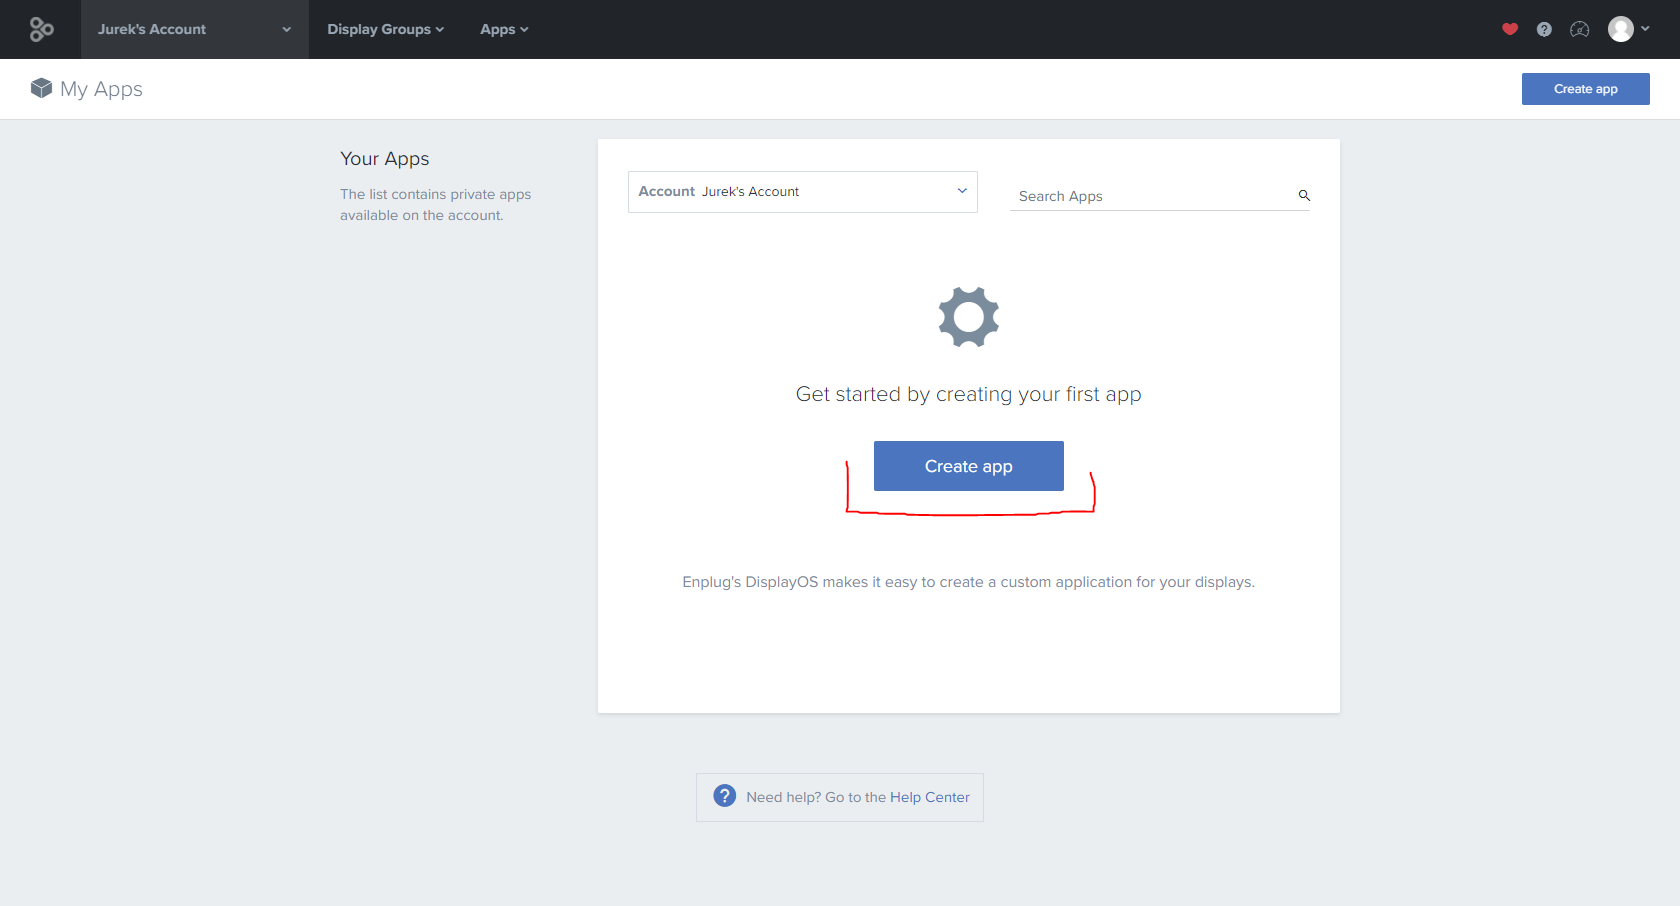
Next, click the 'Create app' button to configure your new app.
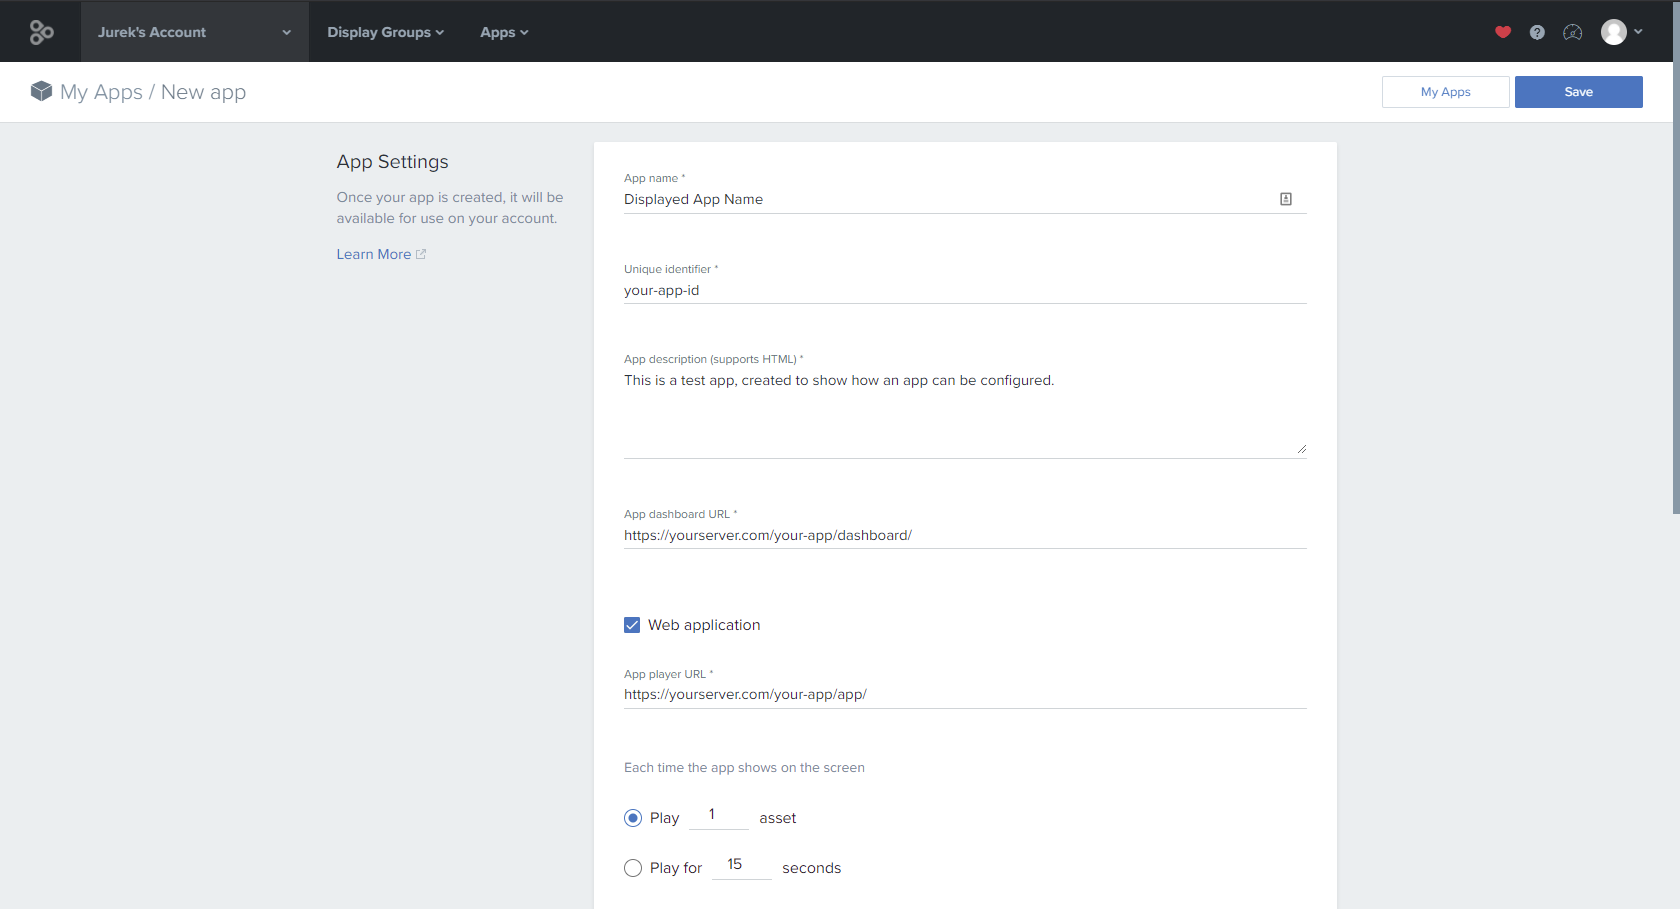
Then, you should see the App Settings form. An example of how it can be filled:
Parameter description#
App name
- The displayed name of the app
- This is the way the app will be displayed to the user, for example in the 'Apps' dropdown.
Unique identifier
- Unique application identifier
- It is a global identifier, so it has to be globally unique in the Enplug system.
- This identifier cannot be edited later.
App description
- Description of the app
App dashboard URL
- This URL should point to the 'Dashboard' part of your app.
- Dashboard will load this URL into an iframe once you navigate to your app in the Dashboard.
- For local testing and development, you can host your app locally and you can point this URL to your localhost. Keep in mind, that in such case the app will only work for you and while it it running on your local machine.
App player URL
- This URL should point to the 'Player' part of your app.
- Player will load this URL into an iframe each time it wants to present an asset from this app.
- For local development, you can host your app locally and point this URL to your local machine.
Developing a new app
In the next section, Implementing your app, you will see how to implement a new app. For the development purposes, you can run and host it locally and put local URLs into the App dashboard URL and App player URL fields. Once you finish the development and release the app to the server, these fields should point to publicly available URLs.
The remaining parameters can be left in their default state as a good starting point.
Finalizing#
After configuring the essential parameters of your app, you can click 'Save' in the top right corner to confirm the creation of your app.
caution
If the 'Save' action fails, it might mean that you do not have sufficient permissions on your account.
Once you save your app, you should see more configuration options. For example, to add an icon to your app, check the 'Details' tab where you can find the icon uploader below.
That is it! You should now be able to find your app in the 'Apps' dropdown in the navigation bar! Add new assets there and your app should start appearing in the Player.