All methods take a success and an error callback as the final two parameters. For methods that load data, the success callback will be passed the data as the first and only parameter. The error callback is given the reason (string) an SDK method failed.
Loads all information for the current user.
Callback receives:
Loads information for the currently selected display group(s). In the account context, it will return all Display Groups in the account; in the Display Group context, it will return only this group’s information.
Callback receives:
Shows (true) or hides (false) the display selector dropdown in the upper left corner by the app's header title on dashboard.
The display selector dropdown can be used to filter assets currently deployed to a specific display group. You can view all the saved assets by account for your app by selecting the 'Library' view from the dropdown on the upper left.
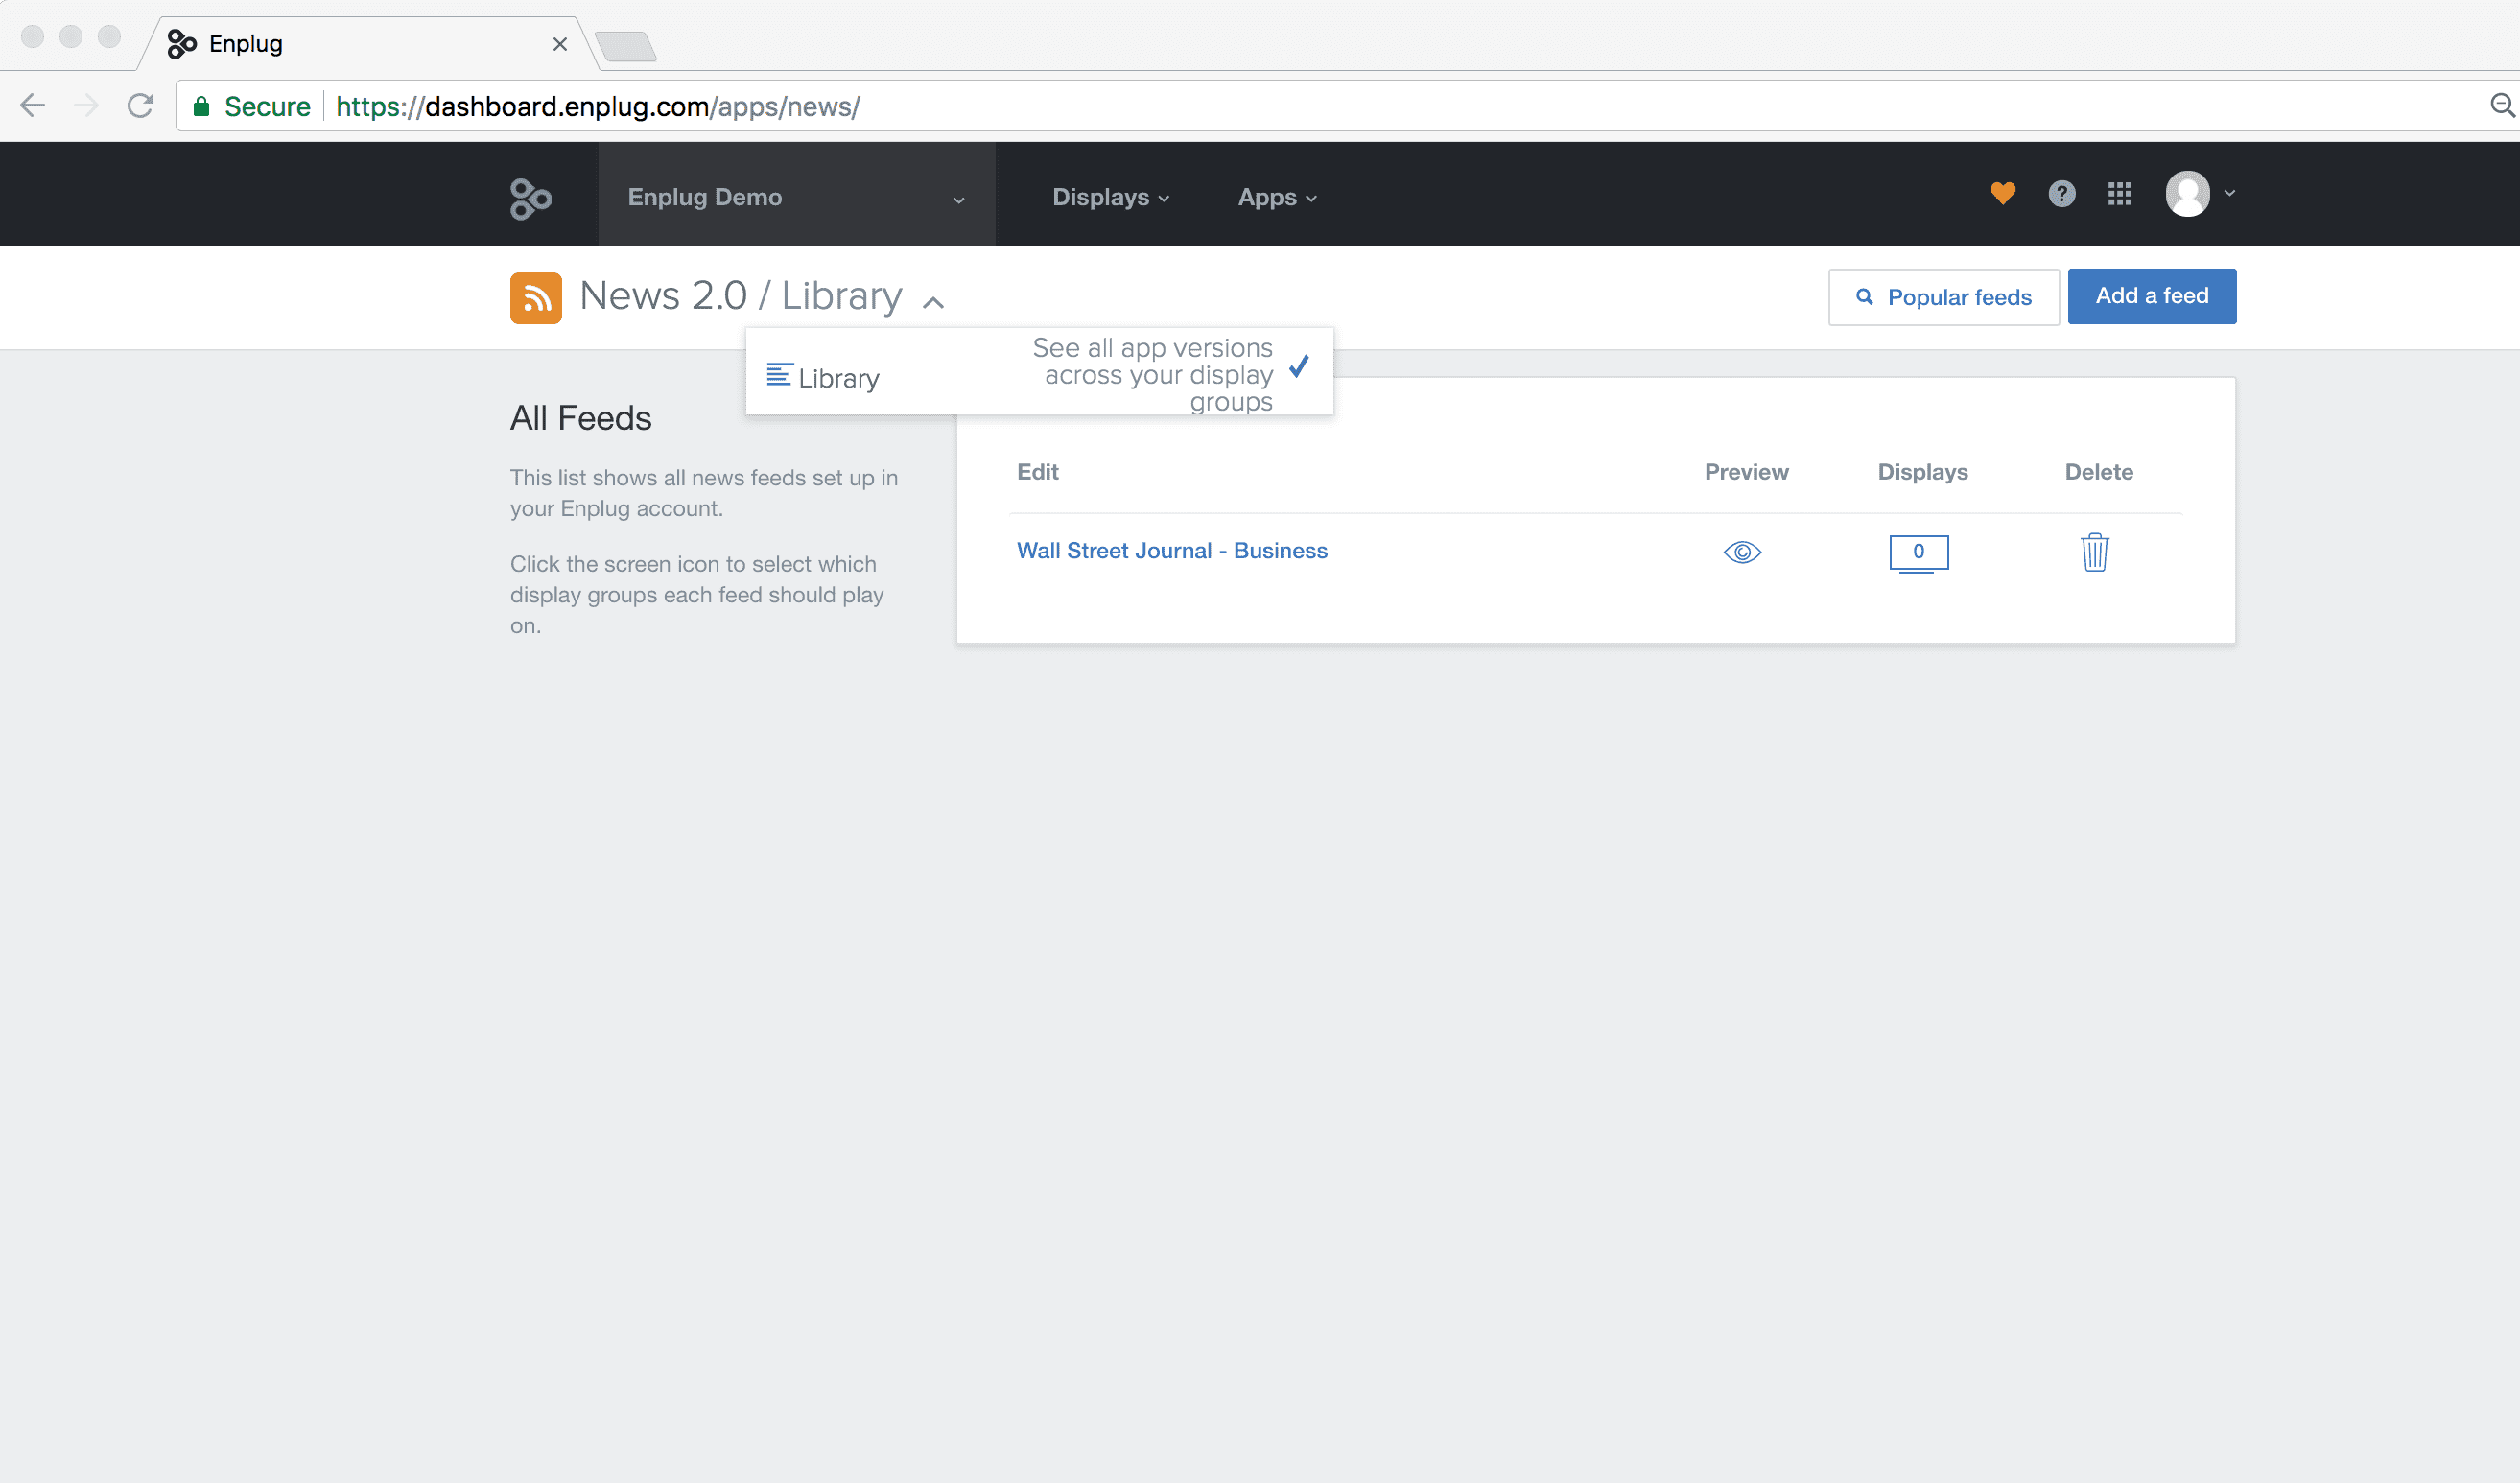
Returns the currently selected display group Id or null if in the Account view. The dropdown is shown in the upper left next to the app's header.
This method invokes a callback when a display group or "Library" is selected from the display selector dropdown. For example, you can use the callback to reload your assets each time it is updated.
Loads an array of assets for the current app instance.
Callback receives:
Creates or updates an asset. If asset.Id is null, it will create a new asset; otherwise, it will update the existing one.
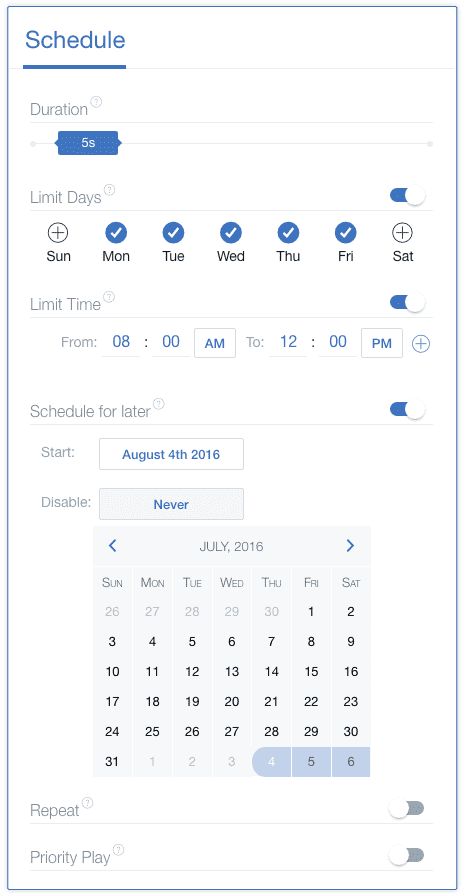
When saving assets, you will have the ability to set additional scheduling options through the deploy dialog, which will render before saving an asset. You can render the deploy dialog and certain customizations by passing the dialogOptions as an argument outline below.
asset: Object to update the asset’s value
dialogOptions: DeployDialog options, object specifying one or more options below such as showing scheduling and duration options.
If showDuration is set to true on the dialogOptions, the deploy dialog will show the duration slider and allow a user to enter in a custom duration. If a fixed duration is not set, you will need to force your app to be removed offscreen by calling enplug.appStatus.hide(); in the player portion of your app. This is further discussed in the Application Status section of the player API.
Deletes one or many assets under the current app instance.
id: Id of the asset to delete or array of ids.
All enplug.dashboard methods also accept success and error callback, which acknowledge when a certain UI control has been triggered, but they aren’t usually needed so they’re left out of the documentation except in cases where they’re used.
Sets the last part of the title bar breadcrumb. Set an empty title ’’ to clear the title.

Sets the primary action buttons for a page in the titlebar. Accepts either a single button object, or an array of buttons. Each button must have an action callback.
button:
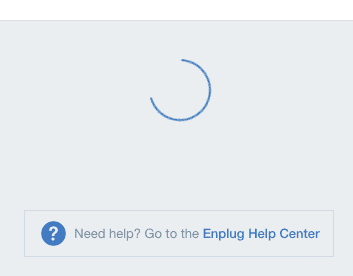
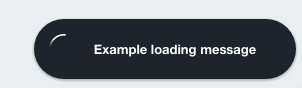
Controls the loading state for the entire page. Every application starts off in loading state, and must set pageLoading(false) to notify the dashboard that it has successfully loaded.
Use enplug.dashboard.isLoading() to synchronously check current loading state.
Synchronously returns the current loading state.
Note the loading state is updated asynchronously when this sender receives an acknowledgement of successful SDK call from the dashboard after using .pageLoading(bool);
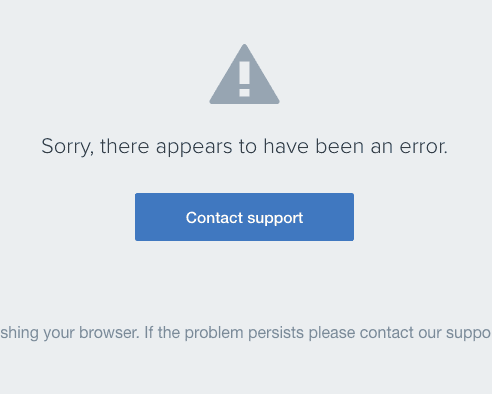
Puts the page into error state.
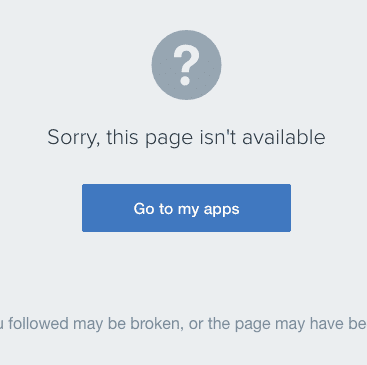
Puts the page into 404 state.
Turns on the progress indicator, typically used during asynchronous actions.
Note: that the progress indicator will continue until a call is made to the errorIndicator or successIndicator APIs.
Shows the success indicator. Should only be used after a call has been made to .loadingIndicator().

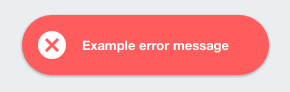
Shows the error indicator. Should only be used after a call has been made to .loadingIndicator().
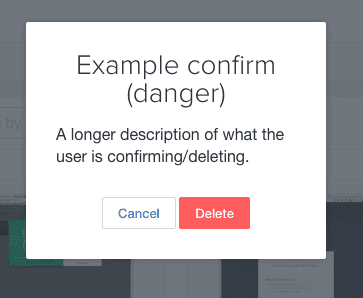
Opens a confirm window with Yes/No buttons and configurable messages. If the user clicks the Confirm button, the success callback is called. Otherwise the error callback is called.
Available options:
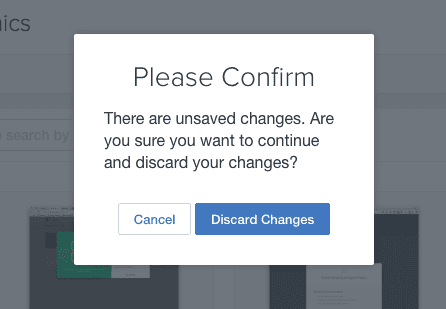
Opens a confirm window asking the user to confirm unsaved changes. If the user clicks the confirm button, the success callback is called. Otherwise, the error callback is called.
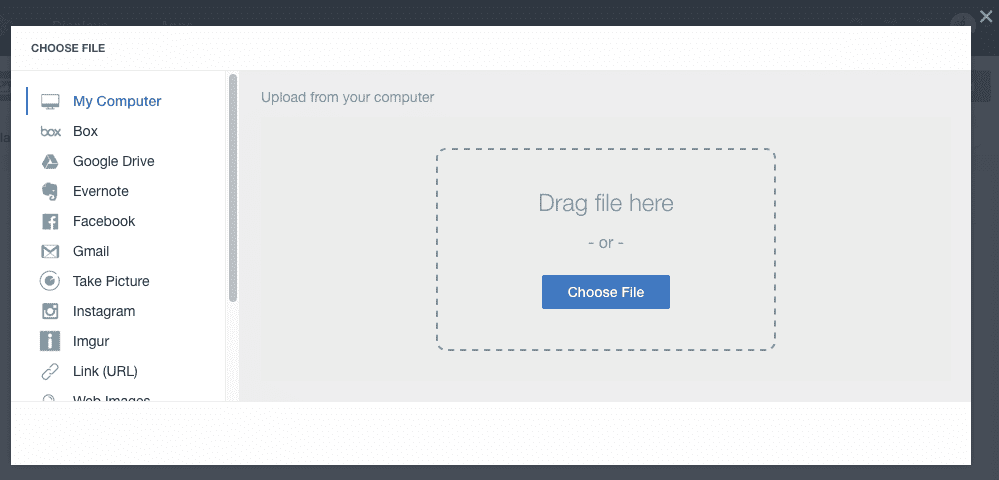
Opens an upload interface for the user to select a file to upload. The options parameter is currently unused. The success callback receives the newly uploaded and encoded file wrapped in an array:
The Event API for Player Apps has methods for adding and removing event handlers. Events include system events as well as custom app events generated via push notifications. The JavaScript Player SDK has a few events that are fired during specific moments of the application life-cycle. Below you can find the various events and what to expect to be passed to the event handler.
The “destroy” event is fired anytime the application is going to be disposed by the player. When developing a player application with the JavaScript SDK, you should be prepared for your app to be destroyed anytime it is taken off of the display. The player will fire the “destroy” event and then wait for a small amount of time to allow you to do any cleanup. To notify the player you are done with any final processes, a callback is passed to the event handler. If you do not call the callback, your app will still be removed once the allotted cleanup time has passed. Every JavaScript Player application should attach a handler, if only to call the done callback.
The on function can be used to attach a new handler for a specific event by that event’s name. If you wish to remove this event handler at any time, you will need to keep a reference to the handler function and pass it into the off function (described below).
eventName: The name of the event the handler should be bound to.
handler: The function to handle incoming events of type “eventName”.
The off function is used to remove existing event handlers. It is important to note that a reference to the original event handler must be passed to off for the handler to be removed.
eventName: The name of the event the handler should be bound to.
handler: The function to handle incoming events of type “eventName”.
The once function is a convenience function for adding an event handler that gets automatically removed after the first time it is fired. The code below is the functional equivalent of the once function’s functionality.
The notifications API is for launching alerts to the Enplug Player. You may have noticed these types of alerts created by the Enplug Social App when new posts are received by the Player. A notification consists of an icon and a message. It is important to note that if the user has disabled alerts for their display your notifications will be automatically suppressed by the Enplug Player.
The post function will take a single argument, the message to display. The message should be as simple as possible to keep the notification short and sweet. The icon used when registering the application in the Enplug App Store will be used as the icon for the notification.
**message:** The message to display in the notification.
The App Status API is for telling the player what state your application is currently in. Most of these functions relate to the application’s life-cycle.
When an app is first started by the Enplug Player it will not be shown on screen until it explicitly tells the player that it is ready to be rendered. Note that initially apps are loaded off screen so they can be given time to properly initialize. When you have set up your application and are ready to be shown on the Enplug Player call the start function to be entered into the current rotation of active Player Applications.
Returns a Promise that resolves to true if the operation has completed successfully.
It is important to notify the player if your application has reached an unresolvable error. Calling the error function will notify the Enplug Player that your application is not operating properly and should be removed from the current rotation of Player Applications. Calling error will typically end up with your application being disposed and destroyed from working memory.
Returns a Promise that resolves to true if the operation has completed successfully.
If ever you want to immediately hide your application the hide function can be called to do so. Calling this function will hide your application until it comes up in the normal application rotation cycle. If your app is the only app playing on the display it will not be hidden.
A Promise that resolves to true when the app has been hidden from the screen.
Sometimes your app will be displaying a video or some other content that should not be interrupted. If you wish to stop the Enplug Player from replacing your app on screen, use the canInterrupt property and setCanInterrupt function of the enplug.appStatus object.
The canInterrupt property is returned as a promise resolving to a boolean value. The setCanInterrupt function takes the new boolean value and returns a Promise resolving to the new value. It is safe to assume that this value takes hold as soon as it is set. Typically you will only set the value when needed.
Checks the current state of canInterrupt property. Returns promise resolving to true if the app had requested not to be interrupted and false otherwise.
Returns the reason why an app was rendered on-screen. It is used for Social CMS apps. The response will contain a reason and data property. Check the value of the reason property to determine if this is a new item (reason: "event").
For example, a response to getTrigger() from a social app will contain the following:
The Asset API for Enplug Player is the way to get assets previously created by Dashboard API.
Iterates through the list of asset values defined in the Dashboard part of your application for this display. Each time when called will get the next asset in the list of assets.
Returns a promise that resolves to the single asset value (an Object).
The Settings API can be used to retrieve various settings that were set by the user of the Enplug Player your application is currently playing on.
This Promise will resolve to an Object with all of the app's settings. Additional information about these settings are outlined further below.
is4K: A boolean if the Enplug Player is connected to a 4K display (true) or (false).
transitionType: The current display group's saved animation used by the Enplug Player to transition between applications.
whitelabel: The value of the white label set for a given Enplug Player.
locale: The saved language for the current display group playing the app.
zoningInfo: An object containing the app's width, height , size, and zone, available for both zoning widgets ( ticker or banner ) as well as the main app.
For the main app, it will return a zone value of "main" and the app's dimensions (width and height ).
width: Width of the current app.
height: Height of the current app.
size: Returns a value for the zone widget size. Possible banner values include 1,2,3,4 with 1 representing the smallest size (1/4 of the possible banner size) and 4 as the largest.
zone: Returns the current zone widget or main app. Possible values include "banner", "ticker" or "main".
orientation: The display group's set orientation (portrait or landscape ).
isMuted: A boolean if the Enplug Player is connected to a display which is muted (true) or (false) if it is not.
Note: This method is now obsolete. Please use enplug.settings.all instead.
This Promise property can be checked to know if the Enplug Player is connected to a 4K display so you can update your application accordingly, possibly with high resolution graphics or different font settings, etc.
Note: This method is now obsolete. Please use enplug.settings.all instead.
This Promise property will resolve to a String value as listed in the code sample below. This value can be referenced if you wish to match the animations used by the Enplug Player to transition between applications.
Note: This method is now obsolete. Please use enplug.settings.all instead.
Many Enplug apps show a small white label overlay at the bottom of the display. This can be customized for certain users. This property can be checked to get the value of the white label as set for given Enplug Player.
Hides the white label overlay at the bottom of the display.
Note: This method is now obsolete. Please use enplug.settings.all instead.
Resolves to a string of the saved locale for the device. This can be used to set regional or languages settings on the player app. The default language can be modified on the display group settings page in dashboard by selecting a language from the dropdown and saving. This will apply to all devices within the display group: https://dashboard.enplug.com/display-group/{{display-group-id}}
Note: This method is now obsolete. Please use enplug.settings.all instead.
Resolves to an object with zoning configurations including the app's dimensions, size, and zone. This can be used to get specific properties for a zoning widget (banner or ticker).
size: Returns a value for the zone widget size. Possible banner values include 1,2,3,4 with 1 representing the smallest size (1/4 of the possible banner size) and 4 as the largest.
zone: Returns the current zone widget or main app. Possible values include "banner", "ticker" or "main".
This Promise property will resolve to a String value as listed in the code sample below. This value can be referenced if you need the id of the device that is currently playing the app.
The Play Recorder API can be used to record how long a particular screen was shown on a display. An example would be recording how long an advertisement was displayed on screen to properly pay the screen provider.
The report function can be used to record the time that an item was displayed. The reference id is used to identify the item for which you are reporting. The play duration is a Number value representing the number of seconds the item was displayed. If you wish to store some additional information, it can be passed as a string as an optional third argument to the report function.
referenceId: A unique identifier to track which asset we are recording a play time for.
playDuration: A time in seconds that represents how long this item was displayed.
additionalInfo: A optional string of extra information to be saved with the recorded value.