If you would like to jump right into code, please take a look at our app-seed to view how our Dashboard and Player SDK can be easily implemented to create an app of your own!
Dashboard SDK: npm install @enplug/dashboard-sdk --save-dev
Player SDK: <script type="text/javascript" src="https://apps.enplug.com/sdk/v1/player.js"></script>
You can add our hosted Player SDK by including the above script tag in your app's index.html. This will add the enplug library to your global scope.
If you're using typescript and want your IDE to integrate with the Player SDK, you should install it via npm install @enplug/sdk-player --save-dev and add it to your tsconfig.json.
You can add the "@enplug/sdk-player" to the types array under your compilerOptions key. Make sure that typesRoot array has the "node_modules/" entry, so that the whole path is available to the compiler.
When you build an app for Enplug displays, you also need to provide a web page that allows users to customize your app for their displays. This web page is loaded as an iFrame in the Enplug dashboard (dashboard.enplug.com). In order for your web page to communicate with and control the dashboard, you should use the Dashboard SDK.
In addition to the dashboard part of your app, you will also need to create a portion that will communicate with the Enplug player. By using the Player SDK, you can control and render your app onscreen to an Enplug display.
As shown in our app-seed, we separate these into separate directories, named player and dashboard.
The Dashboard SDK is split into two APIs:
enplug.account: Used for loading and modifying a user’s account settings and app config.
enplug.dashboard: Provides convenient access to UI components:
Loading indicator (with loading, success and error states)
Confirm box with custom text
Confirm unsaved changes box
Change the page header title and buttons
The Player SDK is split into 6 APIs:
events: Provides methods for adding and removing event handlers.
enplug.notifications: Responsible for launching alerts to the Enplug Player.
enplug.appStatus: Informs the player about the state of your application.
enplug.assets: Responsible for returning the asset(s) created by the Dashboard API.
enplug.settings: Retrieves various settings that were set by the user of the Enplug device your application is currently playing on.
enplug.playRecorder: Allows you to record how long a particular screen was shown on an Enplug display.
All SDK methods are asynchronous RPC calls. If you’re loading data, the data will be provided via the onSuccess callback that every method provides. There is also an onError callback for you to handle errors.
Jump to the API Documentation to read more.
Set enplug.debug = true; for the SDK to log most actions to debug.
You’ll see messages like:
The Angular CLI is used to perform the build operations. You can take a look at the available npm scripts in the package.json file.
To get started working on your project locally, run npm run dev in either the dashboard or player directory to start a local dev server from your terminal. The app will automatically reload if you change any of the source files.
There are only a few commands that you will need to use:
npm install: Installs dependencies.
npm run build: The build artifacts will be stored in the dist/ directory. The --prod flag will be used for a production build.
npm run start: This is for development. It will start a local dev server by running ng serve and setting a port number. The port number can be changed in the package.json by modifying this flag: --port 50035.
npm run release: This is for deploying your project. It will first build, then allow you to deploy to S3 with additional AWS configuration.
You can import the Dashboard and Player SDK at the top of your component files. For example, in the app.component.ts file in the app-seed, the SDK is available by referencing it on the window object.
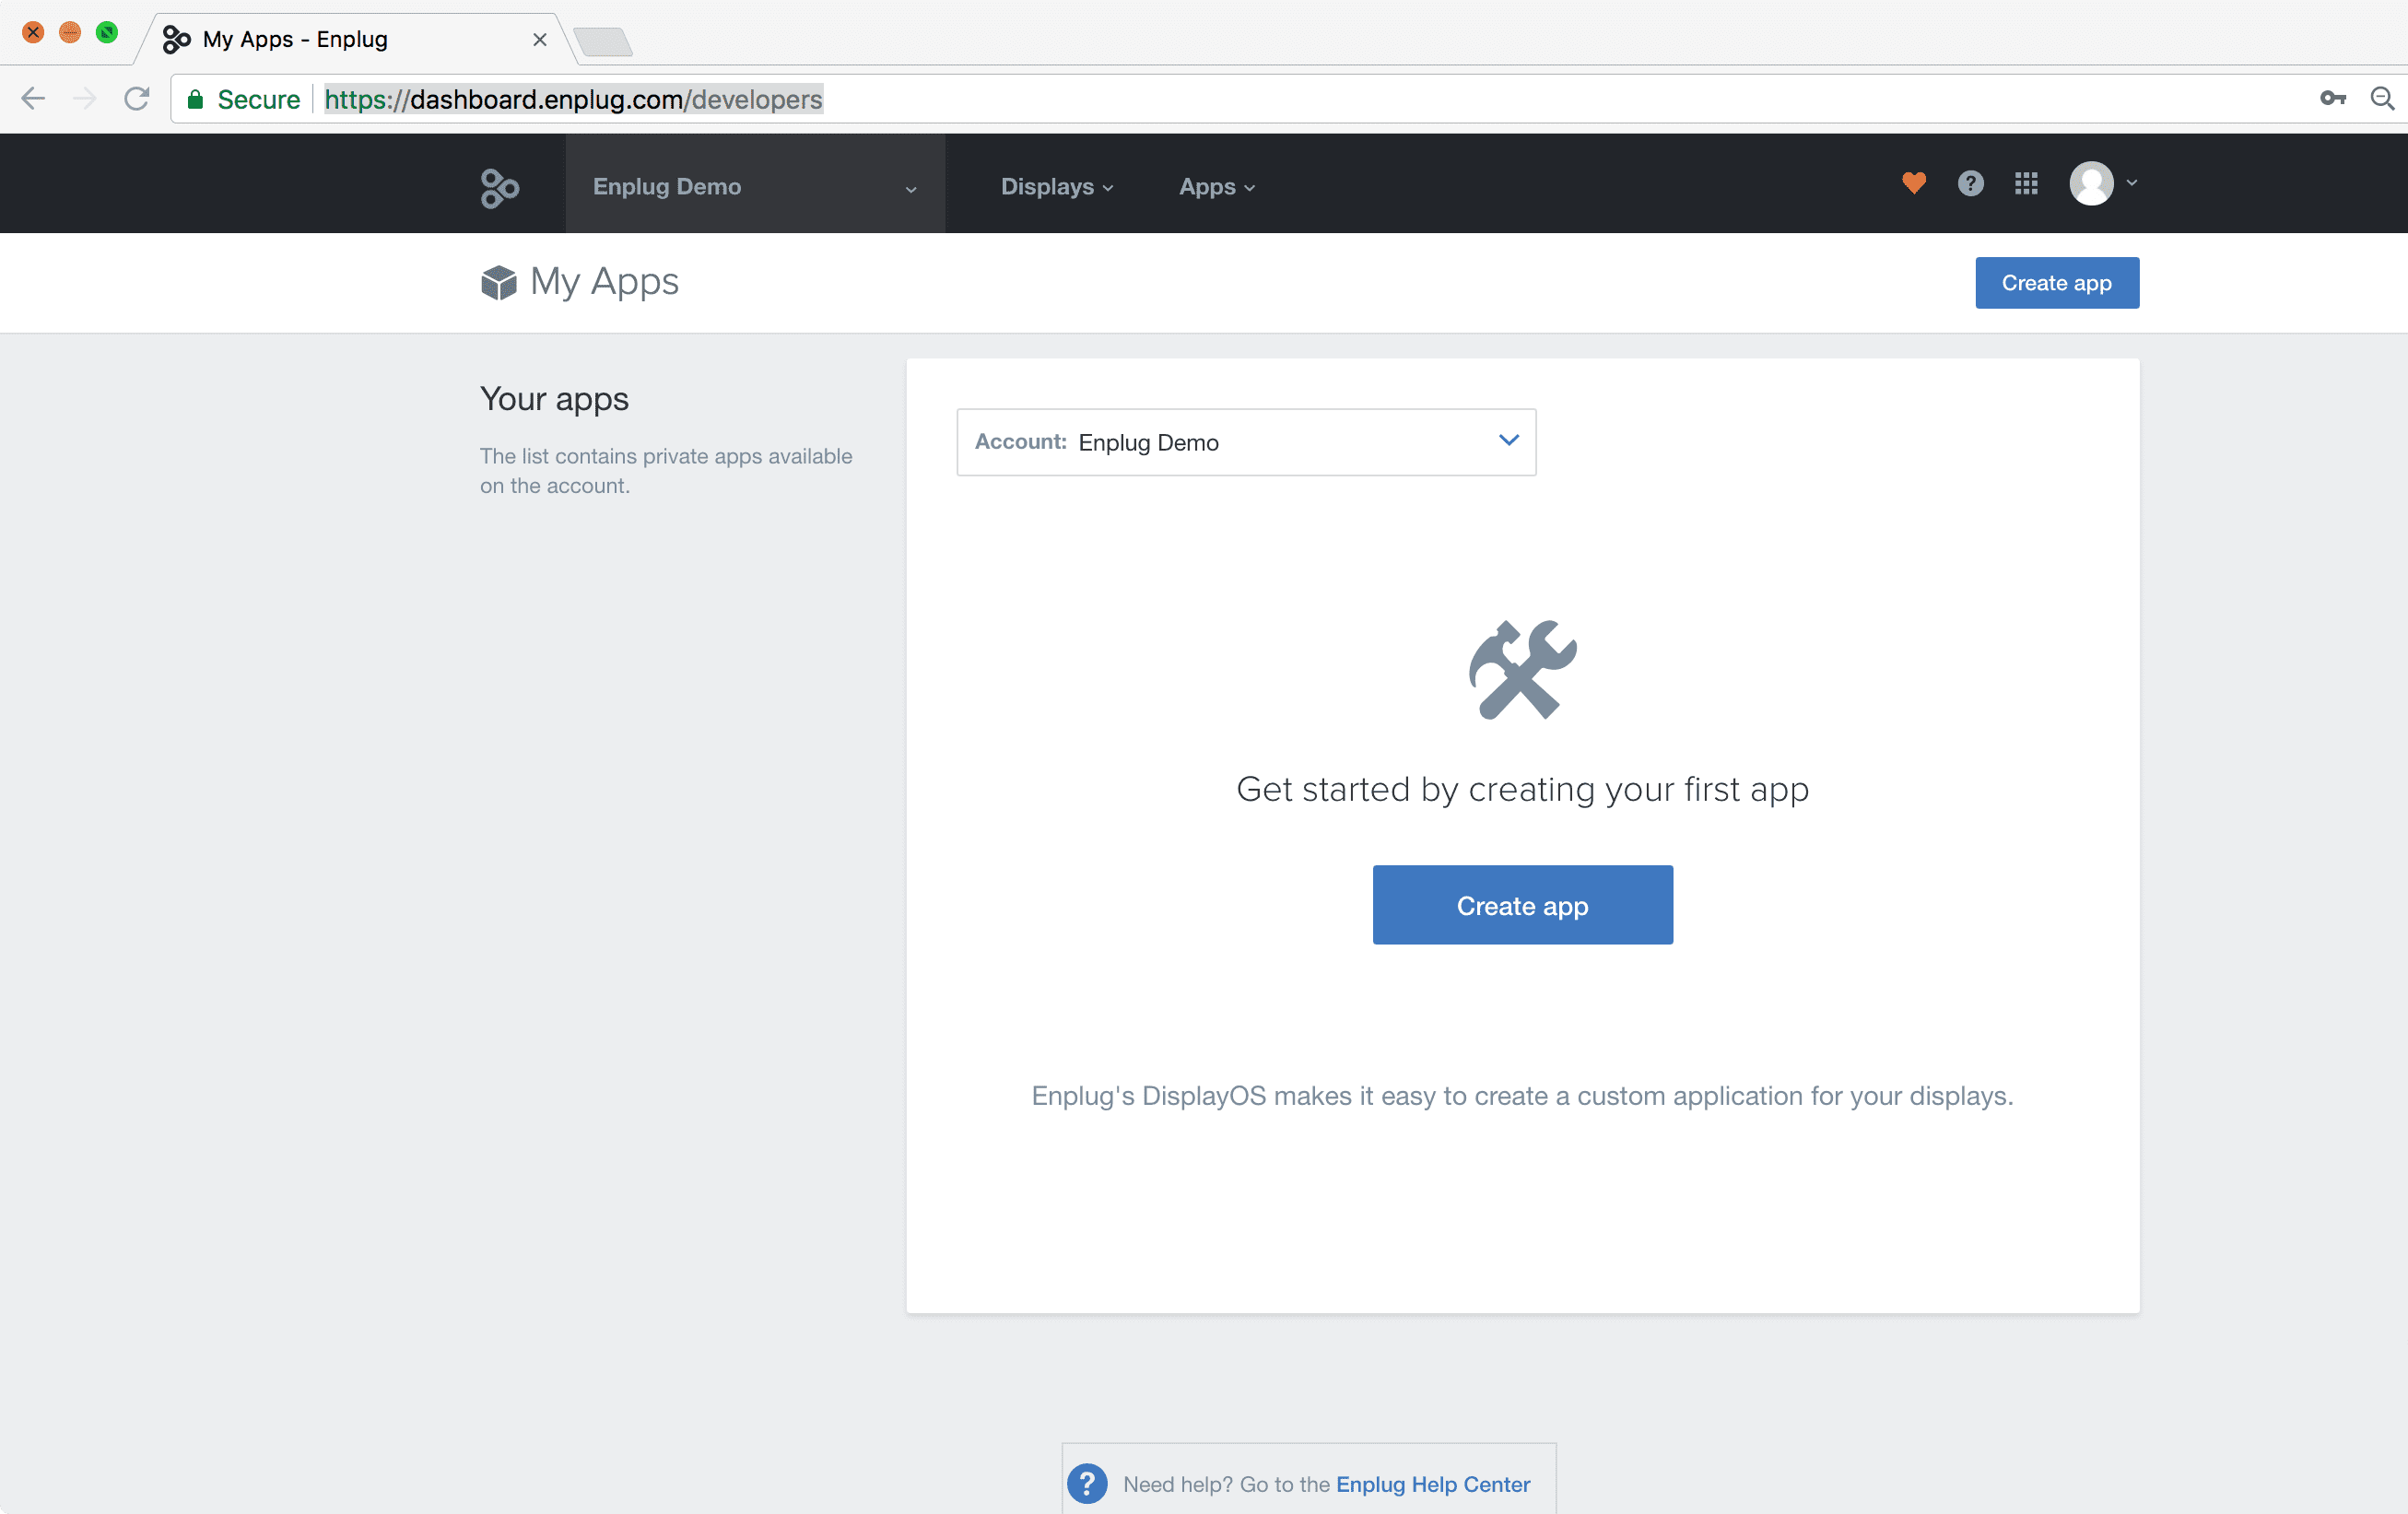
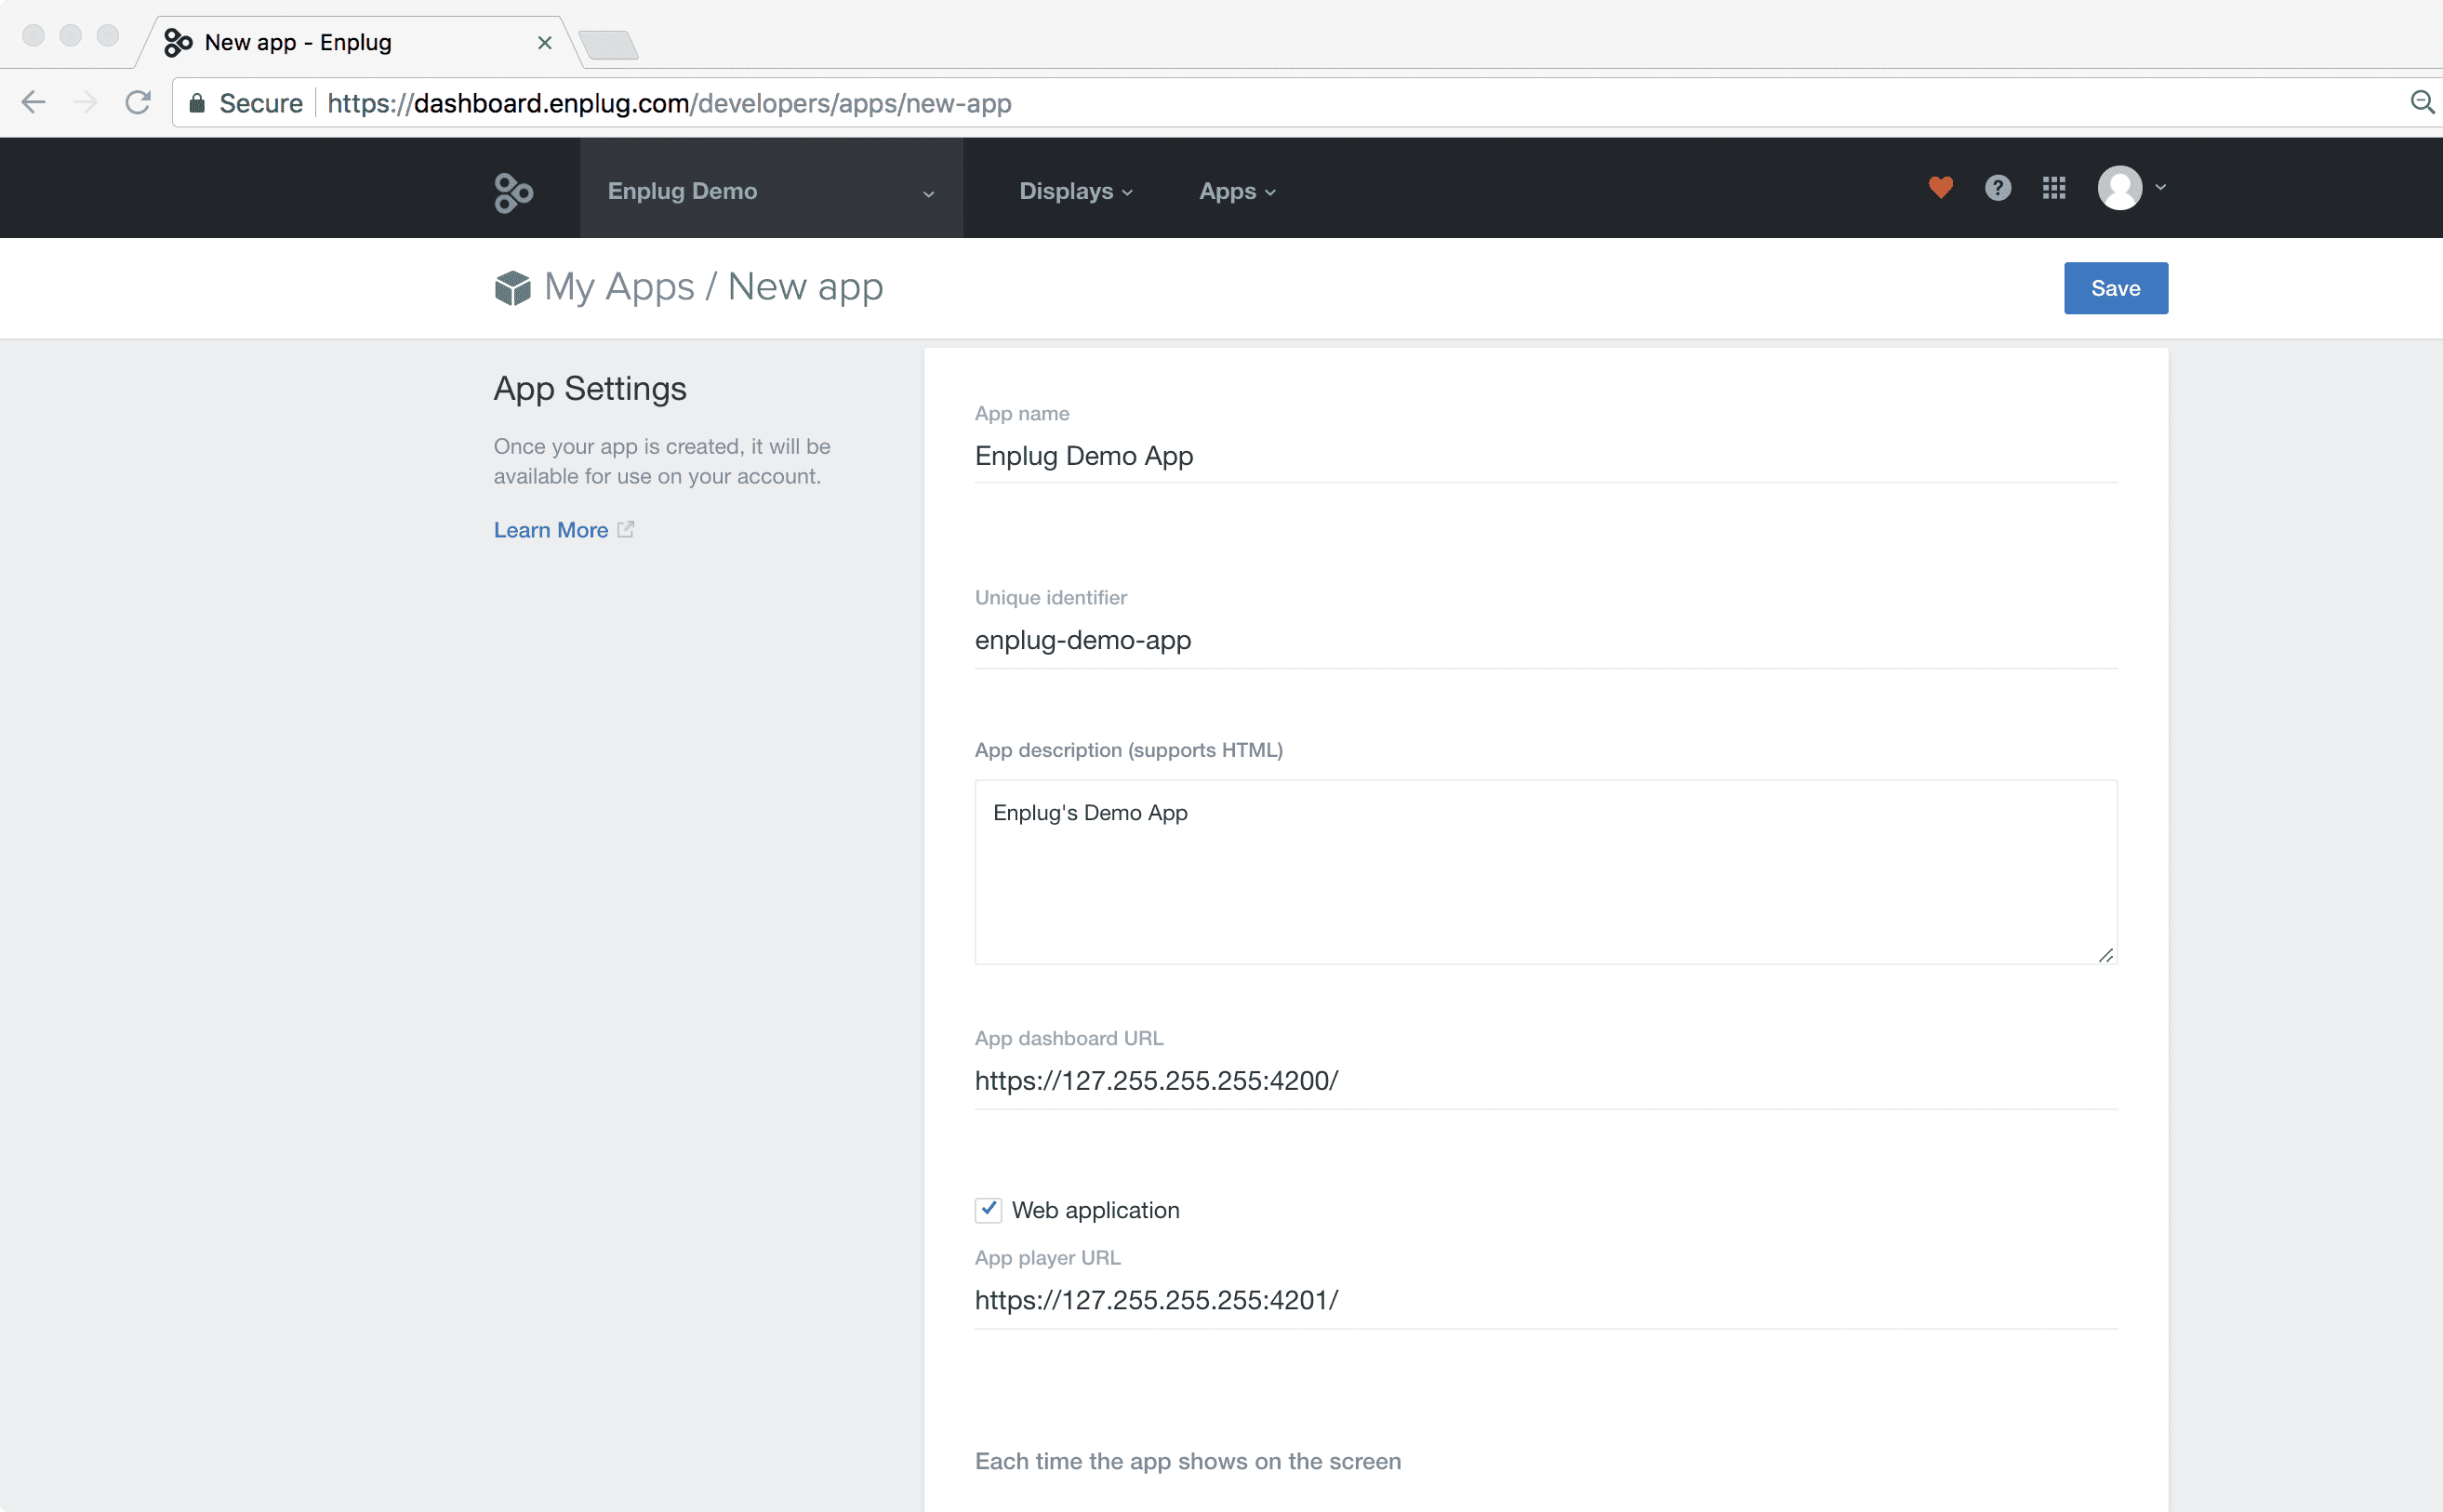
In order to run your application through the Enplug dashboard, you must create a new app under your account and configure the settings, including the app's name, urls, screen orientations, etc.
Under the settings tab, select web application and enter the two urls for both the dashboard and player portions.
If working locally, these should point to your computer's IP address, corresponding with the port numbers listed in the package.json. When you're ready to deploy, update your S3 buckets or urls of your hosted application instead.
Finally, run npm run dev to spin up your local dev server and select your app from the Apps dropdown.